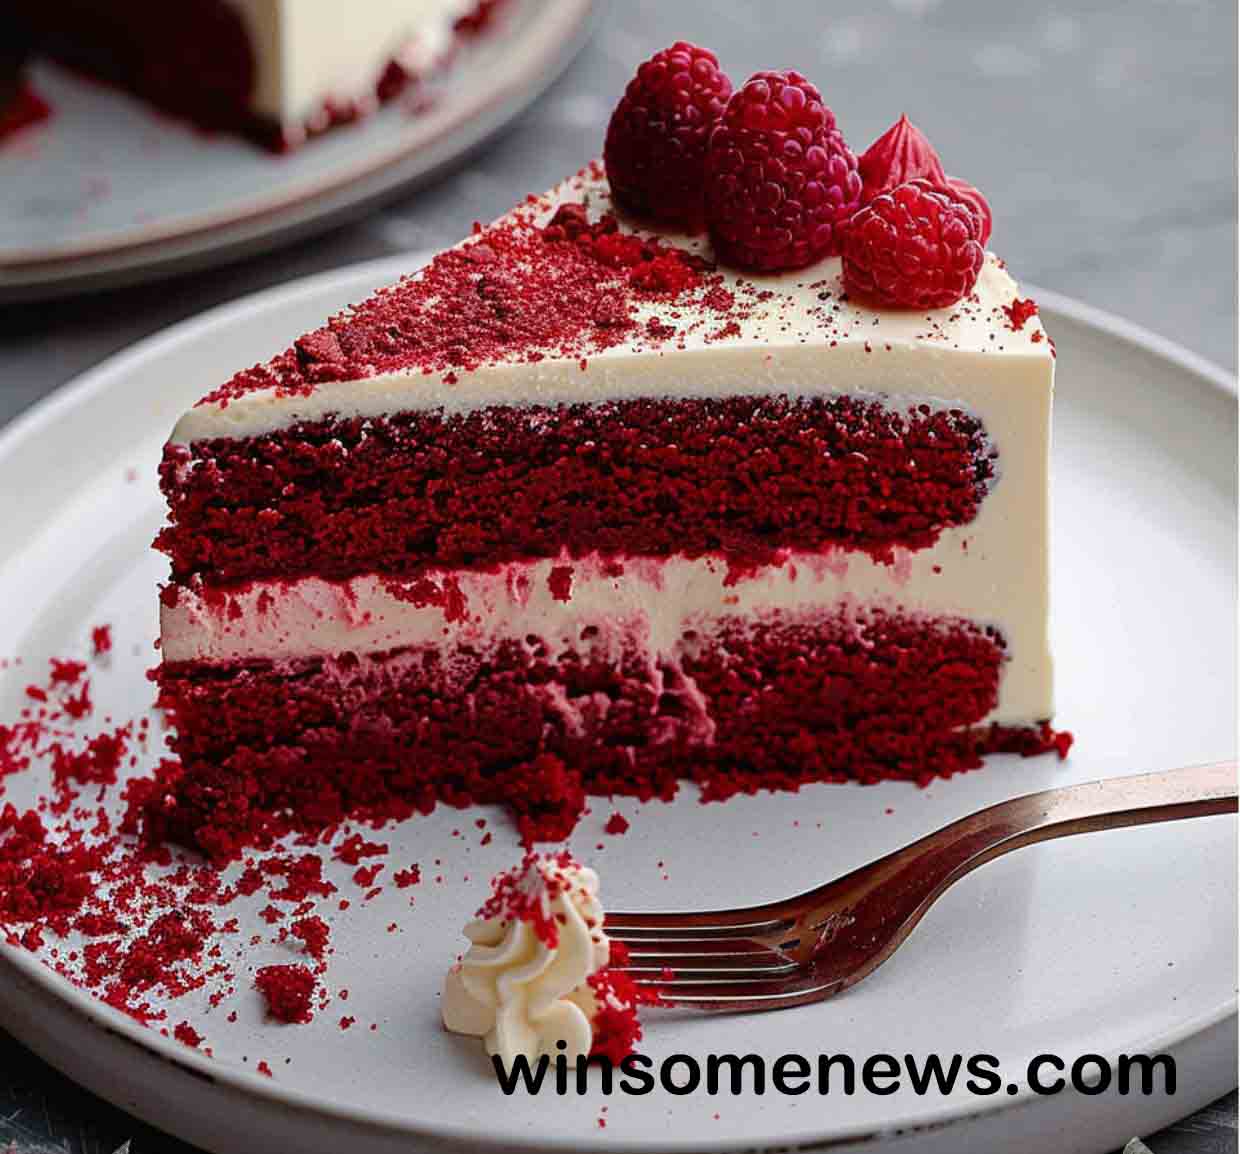
When it comes to indulgent desserts, few treats can rival the decadence of a Red Velvet Cheesecake Cake. This triple-layered masterpiece combines the moist, velvety texture of red velvet cake with the rich creaminess of cheesecake, all topped with a luscious cream cheese frosting. Whether you’re celebrating a birthday, hosting a dinner party, or simply satisfying a sweet tooth, this dessert is guaranteed to impress. In this comprehensive guide, we’ll walk you through every step of creating this culinary showstopper, along with tips and tricks to ensure your cake is flawless.
Ingredients
For the Red Velvet Cake:
- 2 1/2 cups all-purpose flour
- 1 1/2 cups granulated sugar
- 1 teaspoon baking powder
- 1 teaspoon baking soda
- 1 teaspoon salt
- 1 1/2 teaspoons cocoa powder
- 1 1/2 cups vegetable oil
- 1 cup buttermilk, room temperature
- 2 large eggs, room temperature
- 2 tablespoons red food coloring
- 1 teaspoon vanilla extract
- 1 teaspoon white vinegar
For the Cheesecake:
- 4 (8-ounce) packages cream cheese, softened
- 1 1/4 cups granulated sugar
- 1 teaspoon vanilla extract
- 4 large eggs, room temperature
- 2/3 cup sour cream
- 2/3 cup heavy cream
For the Cream Cheese Frosting:
- 8 ounces cream cheese, softened
- 1/2 cup unsalted butter, softened
- 4 cups powdered sugar
- 1 teaspoon vanilla extract
Directions
Step 1: Prepare the Cake Pans
Preheat your oven to 325°F (163°C). Lightly grease three 9-inch round cake pans with butter or nonstick spray, then dust them with flour, tapping out any excess to ensure the cakes release effortlessly. For added assurance, line the bottoms with parchment paper circles.
Step 2: Make the Red Velvet Cake
In a medium bowl, whisk together the dry ingredients: flour, sugar, baking powder, baking soda, salt, and cocoa powder.
In a separate large bowl, combine the wet ingredients: vegetable oil, buttermilk, eggs, red food coloring, vanilla extract, and white vinegar. Whisk until smooth.
Slowly add the dry ingredients to the wet mixture in batches, stirring gently after each addition to avoid overmixing. Stop mixing as soon as the batter is just combined.
Evenly divide the batter among the prepared pans. Use a spatula to smooth the tops for even baking.
Bake in the preheated oven for 25–30 minutes, or until a toothpick inserted into the center of each cake comes out clean. Let the cakes cool in their pans for 10 minutes, then carefully transfer them to a wire rack to cool completely before assembly.
Step 3: Create the Cheesecake Layer
Using a stand mixer or hand mixer, beat the cream cheese in a large bowl until it’s creamy and smooth, ensuring no lumps remain.
Gradually add the granulated sugar and vanilla extract, mixing thoroughly until fully incorporated.
Add the eggs one at a time, mixing just enough to blend each egg into the batter before adding the next. Avoid overbeating, which can cause air bubbles.
Fold in the sour cream and heavy cream until the mixture is smooth and velvety.
Pour the cheesecake batter into a 9-inch springform pan that has been greased and dusted with flour. This step helps the cheesecake release cleanly once baked.
Bake the cheesecake in the preheated oven for 45–50 minutes, or until the center is set but still slightly wobbly when the pan is gently shaken. Allow it to cool in the pan completely, then chill it in the refrigerator for at least 4 hours or overnight to firm up.
Step 4: Whip Up the Cream Cheese Frosting
In a large mixing bowl, beat the cream cheese and butter together until the mixture is smooth and fluffy.
Gradually incorporate the powdered sugar, adding it in batches to avoid clumping. Beat well after each addition.
Finally, stir in the vanilla extract and whip the frosting until it’s creamy and spreadable.
Step 5: Assemble the Cake
Start by placing one layer of red velvet cake on your serving platter. Spread a thin, even layer of cream cheese frosting across the surface.
Carefully remove the chilled cheesecake from its pan and gently place it on top of the frosted cake layer. Apply another layer of frosting to the top of the cheesecake.
Place the second layer of red velvet cake on top and spread more frosting evenly over the surface.
Add the final layer of red velvet cake and frost the entire cake, smoothing the sides and top for a polished, elegant look.
Refrigerate the assembled cake for at least 1 hour before slicing. This step helps the layers set, making it easier to cut clean slices and maintain the cake’s structure.
Tips for Success
Choosing the Right Ingredients
- Buttermilk Substitute: If you don’t have buttermilk, mix 1 tablespoon of vinegar or lemon juice with 1 cup of milk. Let it sit for 5 minutes, then use it as a substitute.
- Food Coloring: Gel-based food coloring provides vibrant color without altering the texture of the batter.
Perfecting the Cheesecake
- Ensure all your ingredients are at room temperature to create a smooth batter without lumps.
- To avoid cracks in the cheesecake, bake it in a water bath. Wrap the bottom of the springform pan in foil to prevent leaks and place it in a larger pan filled with hot water.
Serving Suggestions
Serve each slice with a dollop of whipped cream or a scoop of vanilla ice cream for an extra indulgent touch.
Storage and Make-Ahead Tips
- Refrigeration: Store the cake in an airtight container in the refrigerator for up to 5 days to maintain its freshness.
- Freezing: Freeze individual slices or the unfrosted cake layers for up to 2 months. Wrap them tightly in plastic wrap and foil to prevent freezer burn.
- Make-Ahead: Prepare the cake layers and cheesecake in advance, then assemble and frost the cake on the day you plan to serve it for the best presentation.
Nutritional Information
- Calories: Approximately 600 kcal per serving
- Servings: 16 slices
This Red Velvet Cheesecake Cake is the ultimate dessert for any special occasion. Its vibrant red layers, creamy cheesecake center, and rich frosting are a feast for both the eyes and the palate. With these detailed steps and tips, you’ll create a showstopping dessert your friends and family will rave about!